Jan 24, 2017

Divide by Emily Greene
The minute I saw the cover of Wool People 11, knitting Emily Greene’s Divide became a priority. Flowing lines and modern details offer an interesting knit and a versatile sweater – love it.
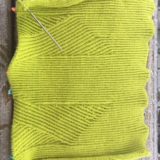
While Divide is written as a pullover, the geometric pattern allows easy adaptation into a cardigan, which I definitely need in my winter wardrobe. A quick stash dive yielded skeins of Hikoo Sueno in a wardrobe neutral chartreuse (yes, chartreuse goes with everything in my closet)… Oh yes, this sweater will be mine!
An admirer of Brooklyn Tweed (BT) since the days when he blogged about his knitting in Brooklyn, I know that Jared values clean graphics and has keen attention detail. I’ve coached many knitters through BT patterns since 2011. The brand’s aesthetic and support of designers is renown.
Hats off to BT for offering a wide size range. Divide instructions range in finished sweaters from 32″ to 55.5″. In this pattern’s layout, the choices made to adapt to the size range complicates its presentation. The instructions reflect a designer’s perspective and not the knitter’s point of view. I hope BT considers pattern presentation strategies to improve the knitter experience.
BT considers Divide an advanced sweater. I found sorting through the pattern the most complicated issue (then again, I’m an advanced knitter). So if you’d like to knit this beauty, here are strategies I used to organize the 39 page pattern:
Pattern organization materials: Digital download of Divide pattern, measuring tape, highlighter marker, highlighter tape, a pocket and prong folder, 3 clear page protectors, a copy machine that enlarges. Of course, you’ll need yarn and needles in several sizes to swatch plus a ruler to measure gauge.
- Purchase a digital copy of the pattern. A printed version is available at a more expensive price. You’ll need to rearrange the pattern to create a good workflow, so I wouldn’t spend the extra cash. This way, you can keep a digital copy of the pattern on your phone and tablet for reference (don’t leave home without it!). When I first acquainted myself to the pattern, the charts were not at all easy to read on a tablet or phone. Once you understand the details and rhythms of the pattern, you may get away from this.
- I know, what you really want to do is knit! Ok, ok! Go ahead, get out your yarn and start swatching. Arbor is classified as a double knitting weight (CYC 3) yarn, but the gauge for the half twisted rib is 27 stitches and 30 rows… a tight gauge for a dk weight yarn. Remember, they want a washed and blocked gauge. Do not mess around with this, especially is you are substituting yarn! I found my gauge varied when knit on the same size Addi turbos or ChiaGoo bamboo needles. I also discovered that I didn’t like the stiffness of the fabric when I worked the Sueno yarn at gauge. I wanted more drape in the fabric, and chose to follow the pattern directions for a size smaller.
- Read the entire pattern. Whether this means you print out the entire pattern (I’d recommend doing it single sided) or online, read the entire pattern. It’s long enough that a Table of Contents would be useful! Pages 1 – 5 give background and basics to the pattern. Pages 6 – 22 contain the instructions. Pages 23 – 33 are the Charts, followed by the Techniques and Abbreviations.
- Personalize the instructions. Highlight or note the instructions for the size you plan to knit. If I were to do it again, I’d take screen snippets of the instructions for my size and copy them into a new document to create a streamlined set of instructions. Instead, I put brackets alongside the portions of the pattern that pertained to the size I knit. Wouldn’t it be nice if BT included instructions by size?
- Enlarge the charts. Make your life easy. This pattern relies heavily on charts, yet a 56 row and 80+ stitch pattern is portrayed in a 3″ x 5″ block.
- Assemble your working pattern. Take the pocket and prong folder and place the three page protectors in the center prongs. I laid out the six views: Page 1) Photo of the pattern. Page 2 – 3) Two pages of instructions Page 4) Left side charts. Page 5) Right side charts. Page 6) The diagram from page 34. Let me show you how this looked:
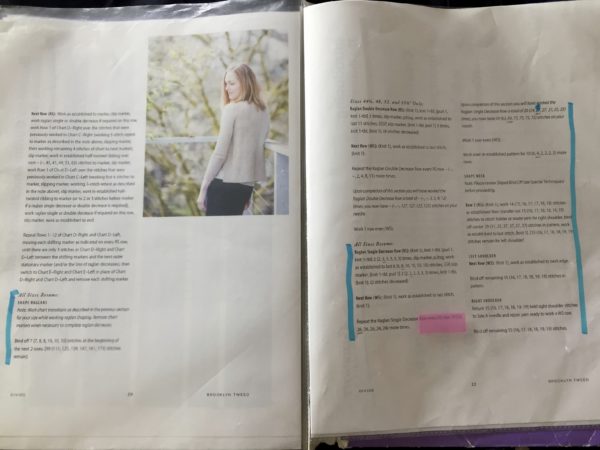
Highlighted instructions marked with highlighter tape
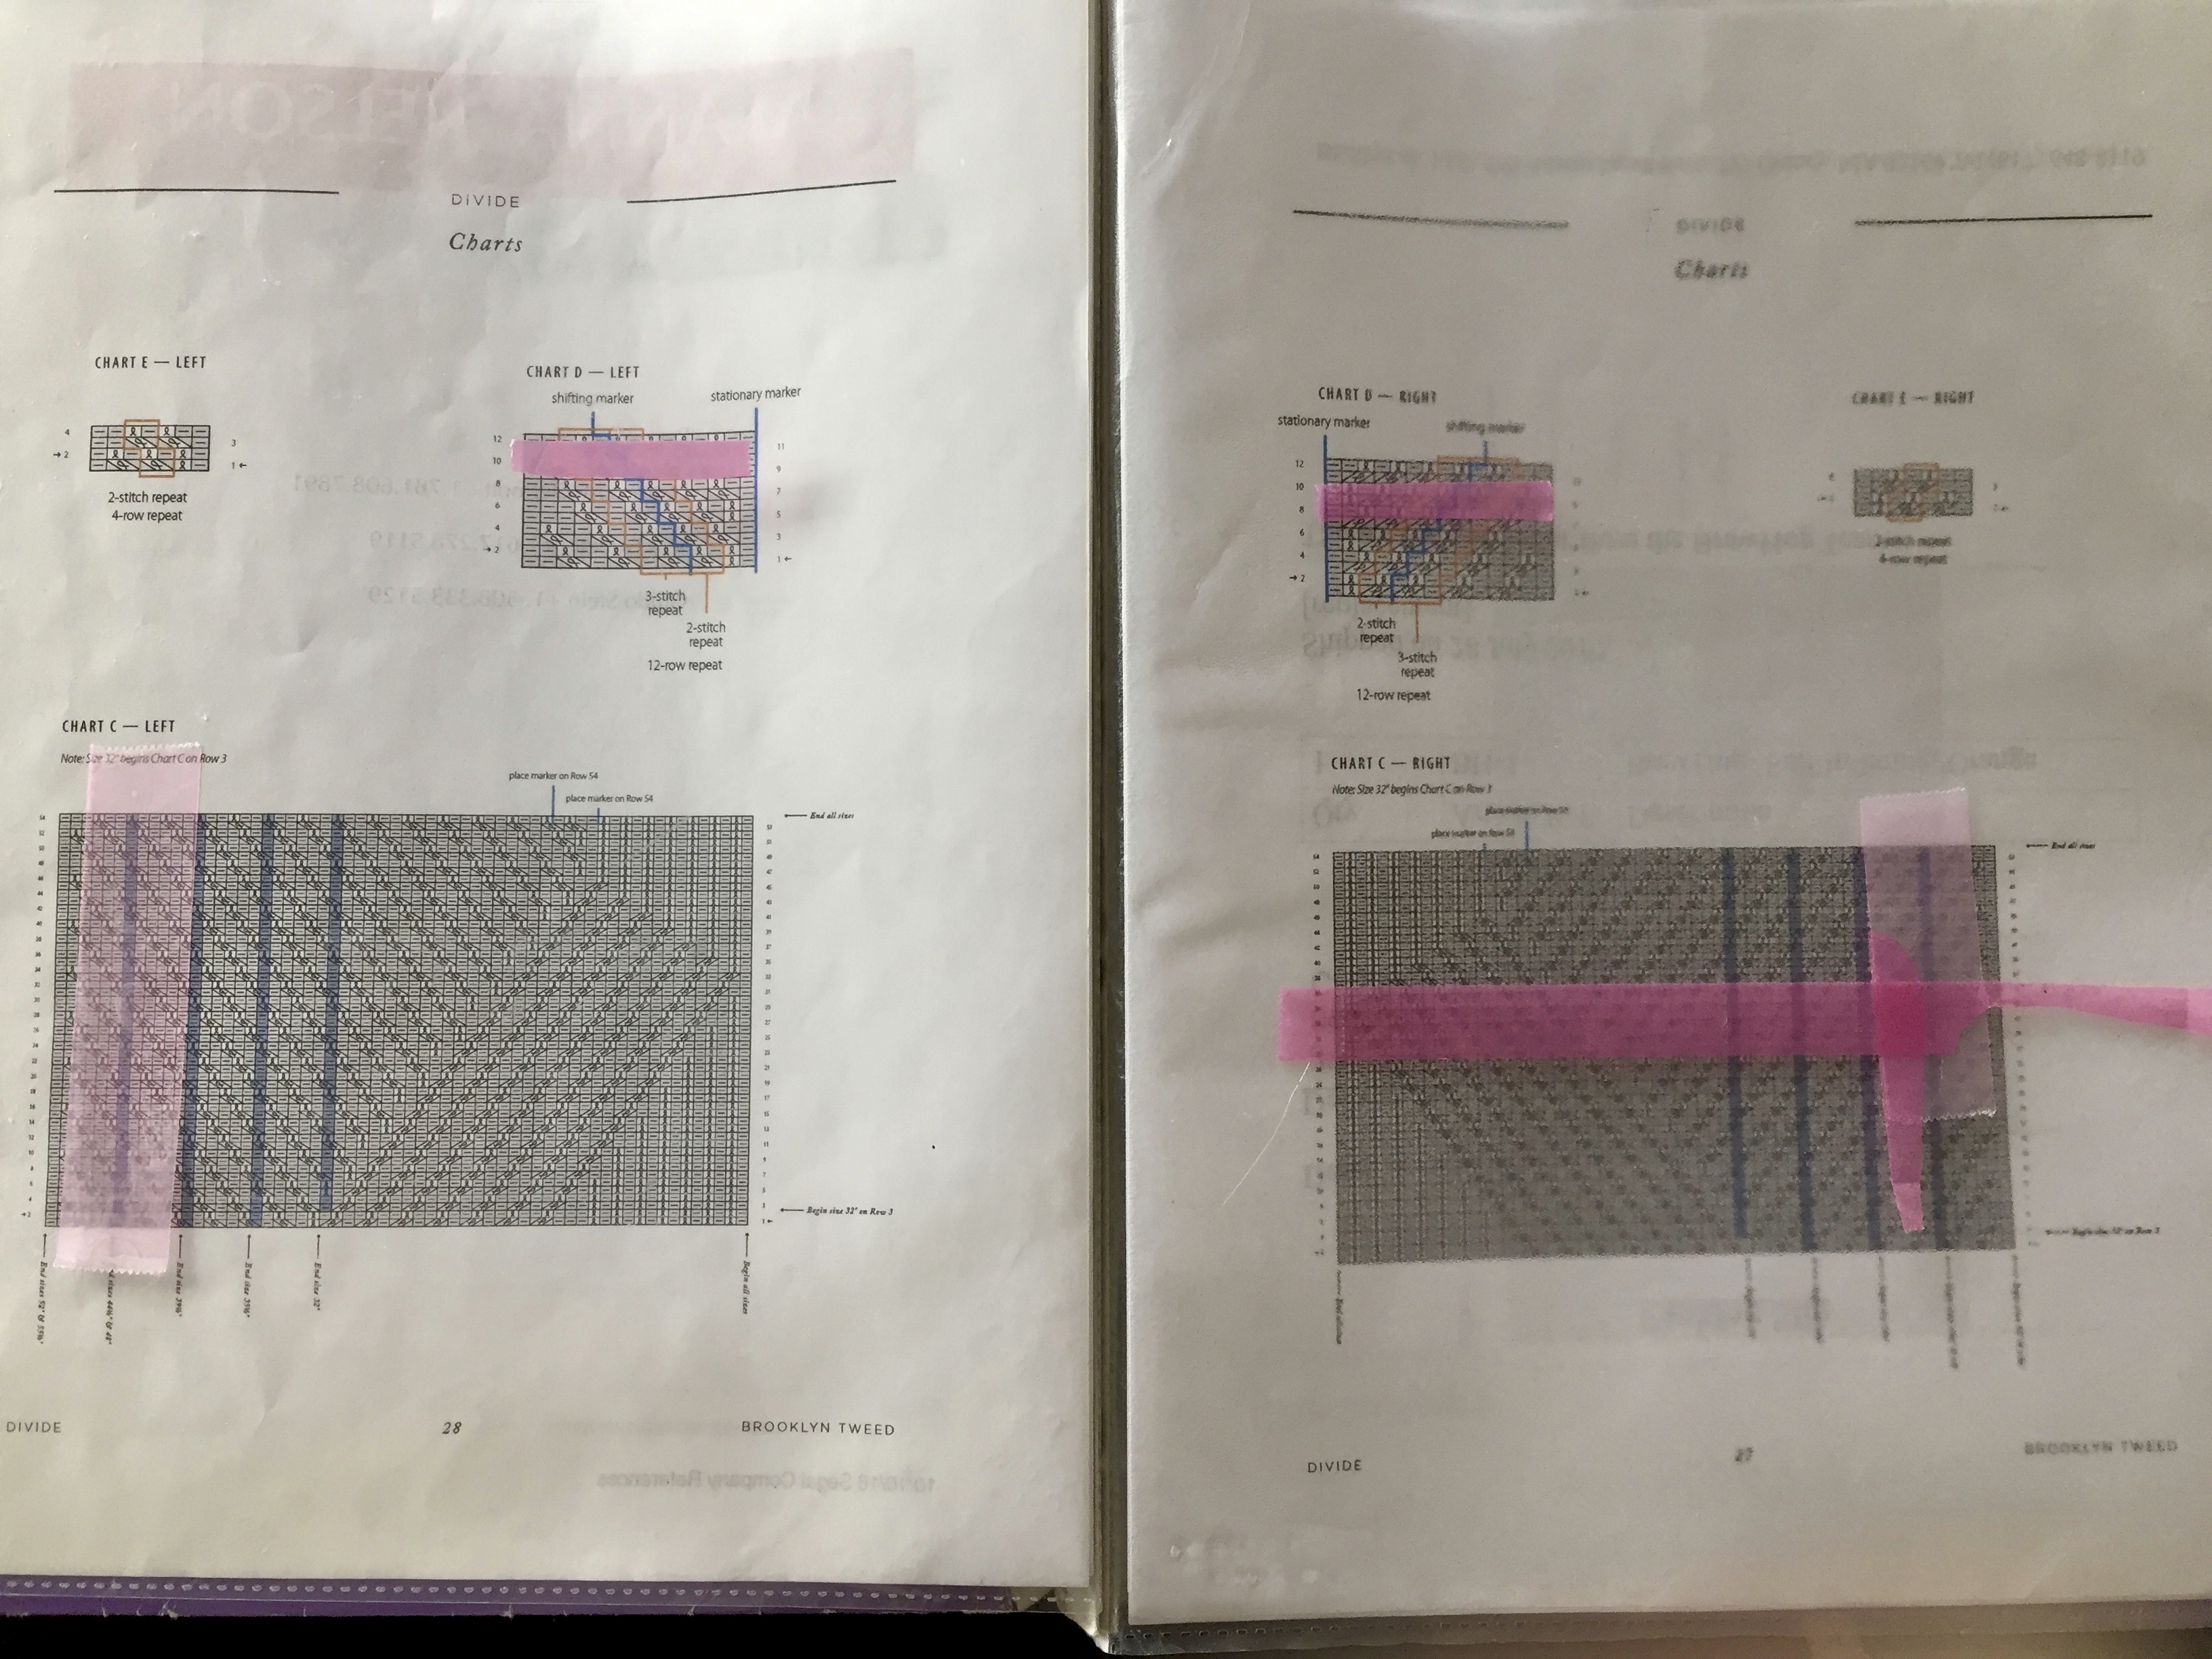
Left charts on left side of page and right side chart on right
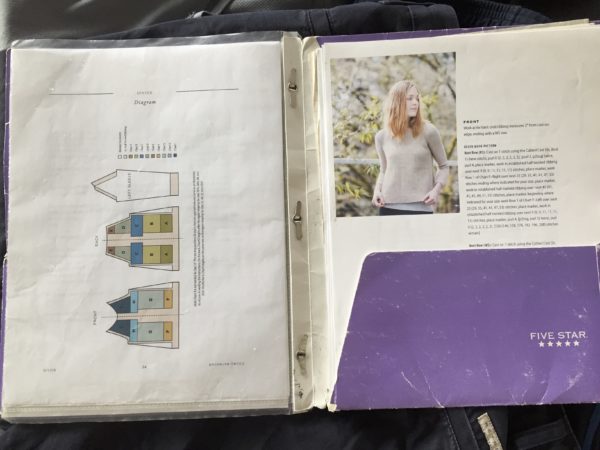
Diagram on back page and extra pages in pocket
Extra pattern pages for the chart were kept in the left pocket. Extra instruction pages were kept in the right pocket. Once I completed a section, I left the page in the page protector.
- Compare Schematics to your measurements (page 4). I noticed in the photos that the armhole depth looked narrow. Will this fit you when you’re done? Look at the back raglan depth and determine if that fits your measurements… especially if your row gauge isn’t identical to the recommendation. From other Brooklyn Tweed patterns, I know that the women’s upper arm circumference can be tight on those who are middle age or older, so measure and adapt accordingly. The sweater is bracelet length… is that the length you had in mind or do you want your wrists covered? Take the measuring tape and make sure the size you’re knitting will give you results you’ll love. Adapt the pattern to fit your needs.
A big fan of knitting on the go, I almost always have knitting in my purse, briefcase or car. To move this sweater forward, I cast on the sleeves as my traveling project. The front and back of the Divide pullover aren’t always so portable.
I’ll update with photos later on progress. Meanwhile, there are currently 62 projects as of January 23, 2018 on Ravelry for the Divide Pullover. I found Leslie Eaton’s project page helpful as I perused the entries. If you’re knitting Divide, do you have any thoughts or strategies to share?
Dec 25, 2016
A long absence from the blogosphere, for sure… Did you think the election did me in? No, I’ve seen this type of change in Italy and Tunisia, so that’s not the explanation. Transitions sum up the last six weeks, a dozen blog posts lurking in my head the entire time. So I’m finishing 2016 and kicking off 2017 with highlights of my creative days, minutes and dreams. Here we go!
First Textile Blog of Solstice, a travel story. My destination? Seattle. My knitting project? Scarf Ornament.
Some background? Once upon a time, I lived on the Puget Sound. It was my childhood dream come true. While Rome, Milan and Boston held my home address for the last couple decades, my heart still feels at rest in Seattle. Spending the week before Thanksgiving in Western Washington brought all of those home feelings front and center.
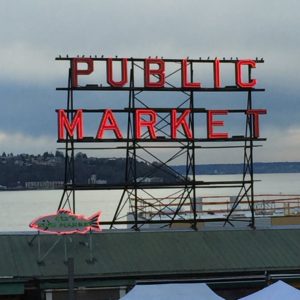
While Seattle changes, certain landmarks stay the same.
What to knit? A peruse of my stash found a lovely burgundy Shuibui Staccato and a golden skein of Anzula Milky Way. The colors were lovely, a perfect combo for Scarf Ornament. The perfect color combination, yes. The perfect fiber combination, no. As I wound the very fine, single ply Milky Way on the plane, I knew another yarn needed to replace that golden wonder.
What a perfect excuse for a ferry ride to Bainbridge Island to the lovely Churchmouse Yarns. After perusing the entire store, I returned to the Staccato and chose a yellowy green. Purple and green is not everyone’s color choice, but I have grown quite fond of the results.
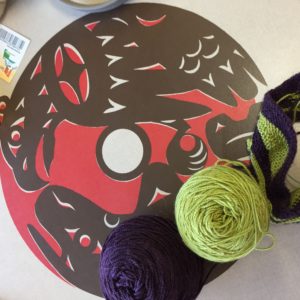
I couldn’t wait to cast on in the new yarns.
In addition to friends and family, the Seattle Art Museum’s Yves St Laurent exhibit proved to be a fabulous way to spend an afternoon. Before I knew it, my Seattle sejour was over, but the scarf ornament continued.
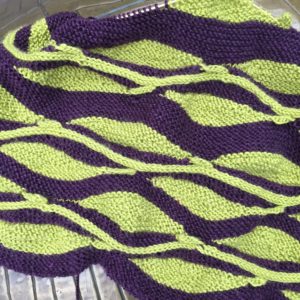
Yes, the knitting continues. With home renovation projects, work and holiday festivities, my only knitting time has been on the MBTA. Scarf ornament is not a project for public transit, imho. I’m about 5 repeats into the scarf and only now am I memorizing the essence of the pattern. Working 20 stitches, picking up the pattern and repeating is a slow process on public transit.
Save
Save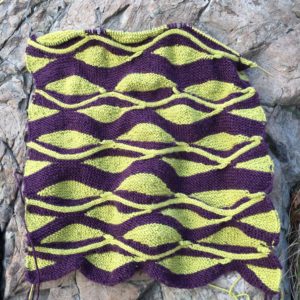
Soon, I will retire this project to my bedside. But it’s the time of year when I should turn back to my Master Knitter corrections. That story’s for another day in my twelve textile posts of solstice.
Nov 8, 2016
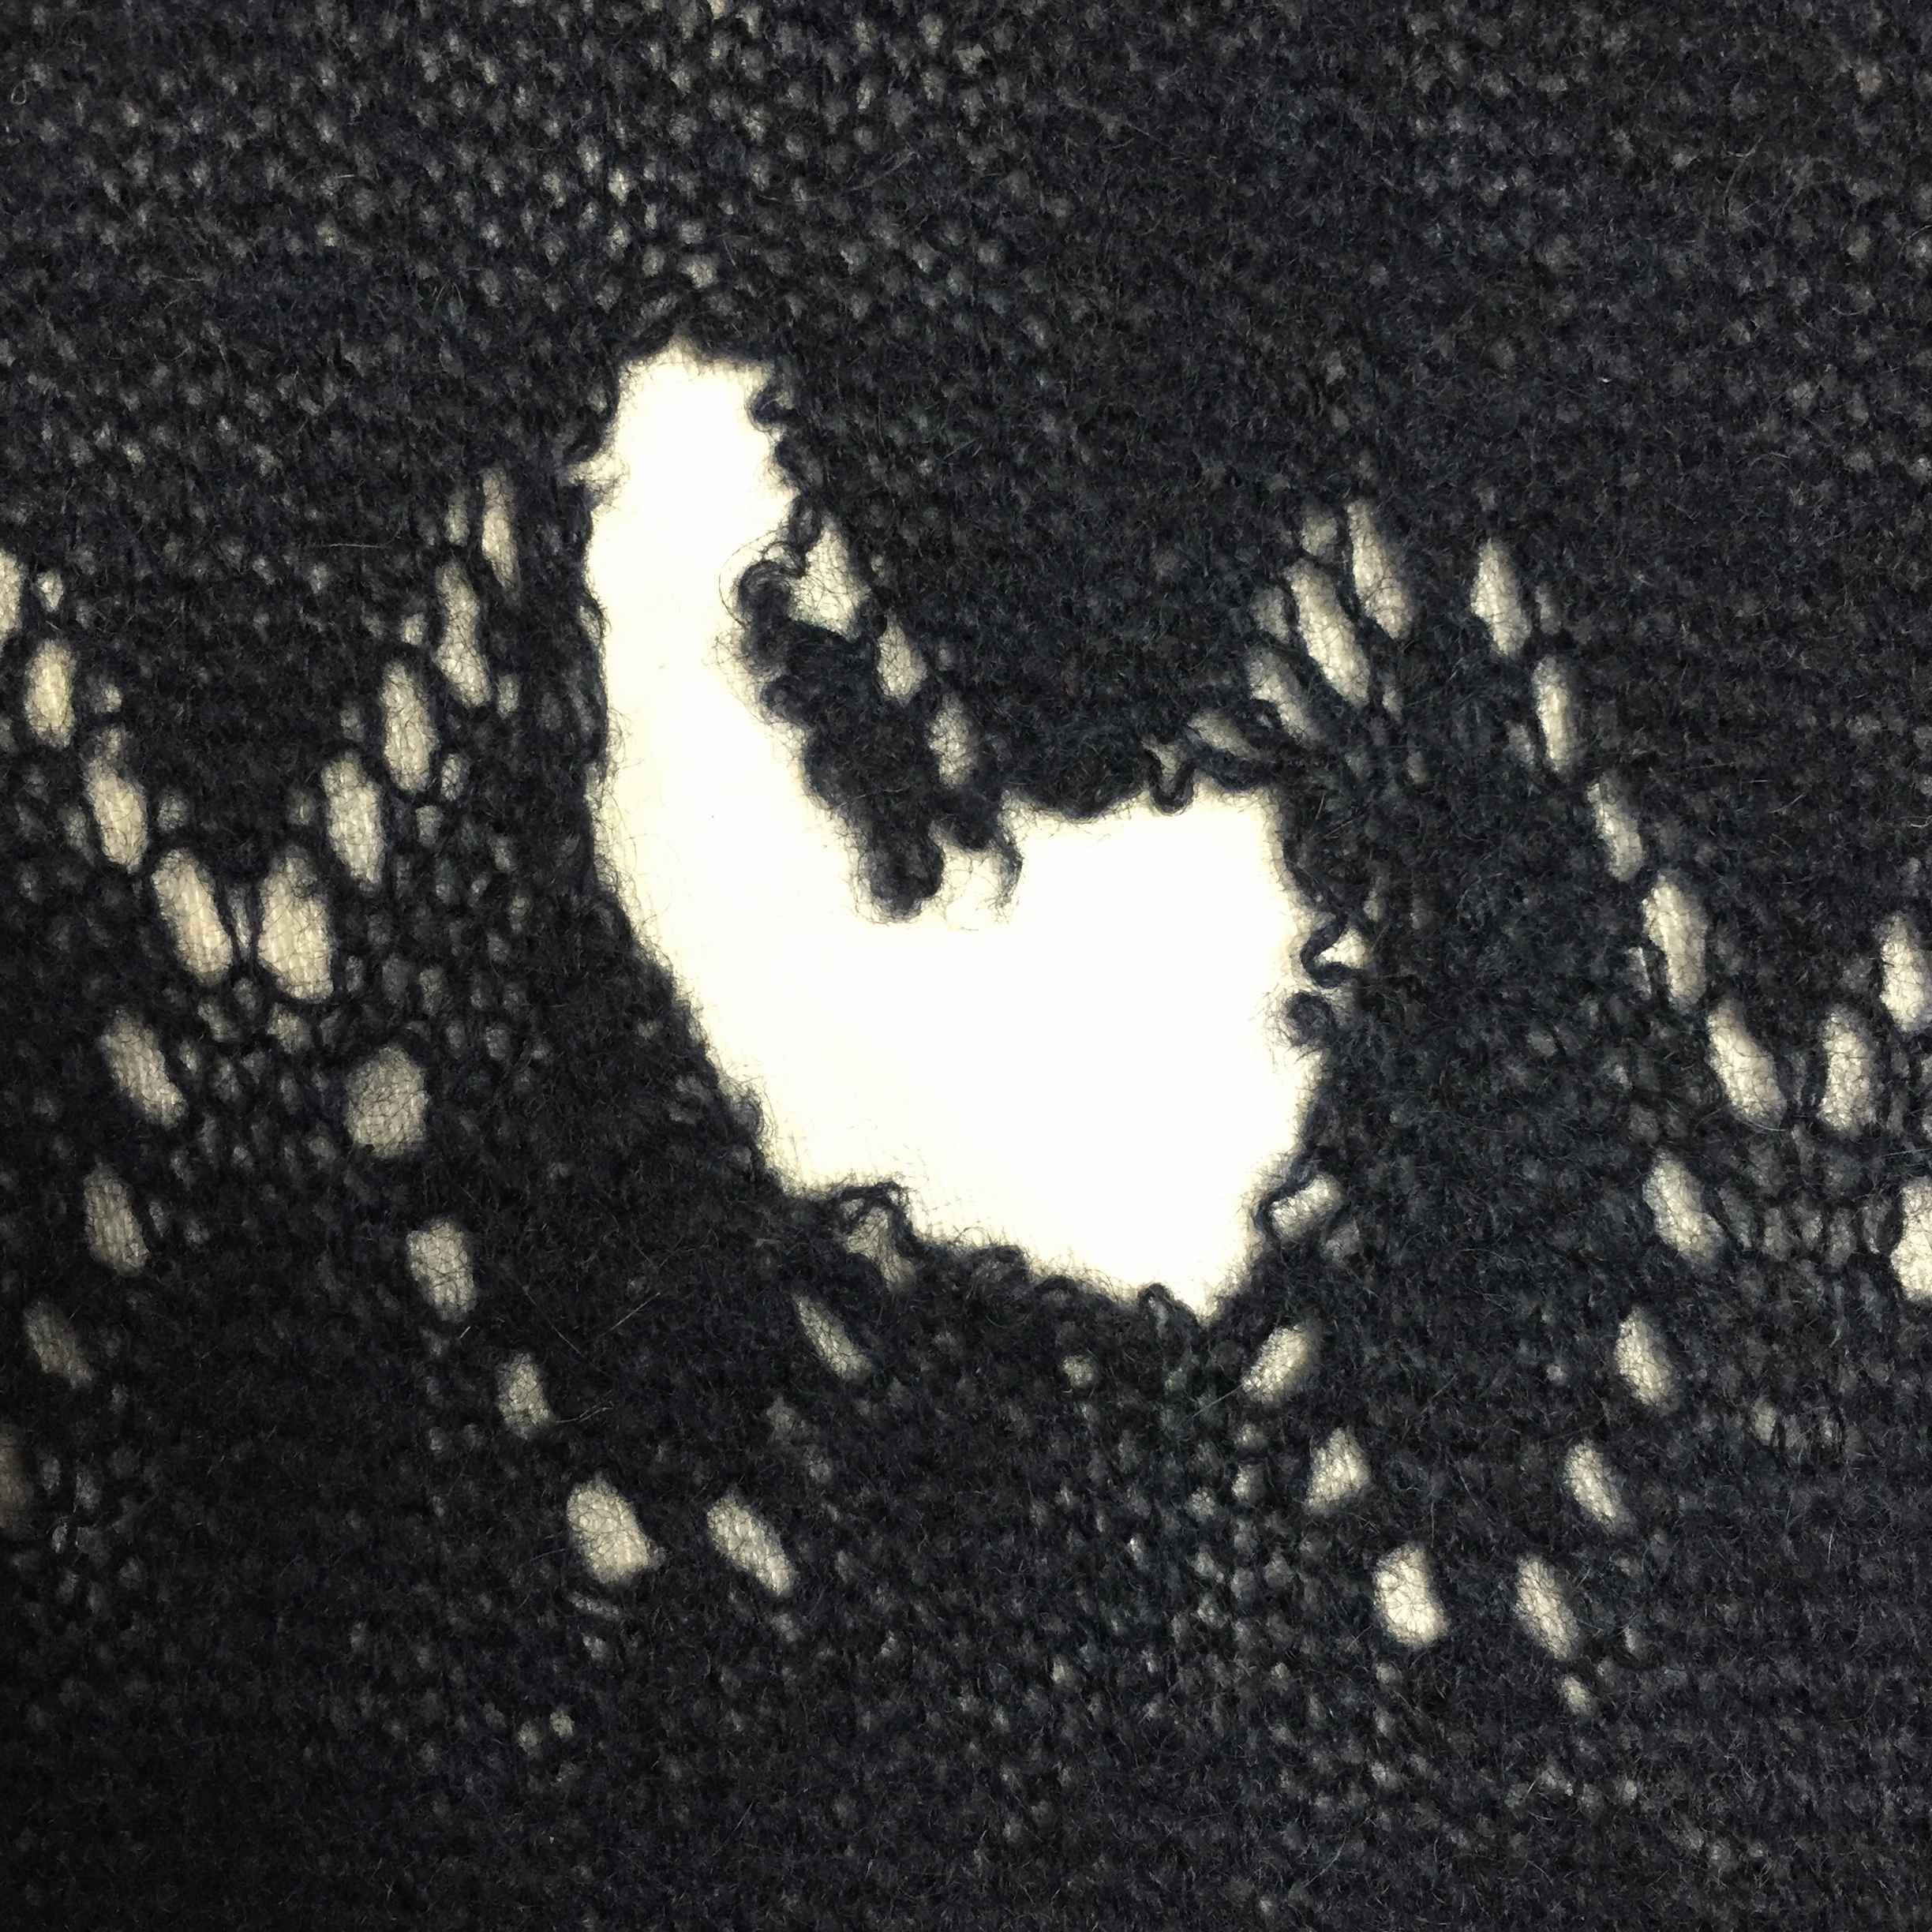
My reputation as a knitwear repair whiz brings sweaters, afghans, baby blankets into Melrose’s yarn shop. Always frugal, my heart always prefers repair to replace, but this recent sweater was a challenge. If it weren’t for Scrapiana’s posts on Twitter and Instagram about #TheBigMend, I might have suggested ways to up cycle this designer light as air hooded cardigan.
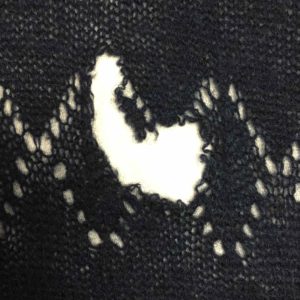
Fine cashmere with nasty rip
With such a large hole, matching the navy cashmere fine yarn was a huge endeavor.
- The first choice is use the mending yarn that came with the sweater. Of course, you can never find that when you need it.
- Second, could I shorten or remove hems to harvest yarn for the repair? Not without many trickle down issues.
- Could we source a similar yarn? The client tried without success and finally, the fine folks at In Stitches suggested that I try embroidery wool. The navy looked quite close, so ahead I went.
Then of course, the real work began:
- Write the lace pattern to match the existing decrease and increase methods.
- Determine the gauge and appropriate needles to obtain the gauge.
- Identify the actual section to reknit.
- For this project, I picked up the bottom row of stitches in the replacement section, joining the rows to the sweater as I worked. Then I grafted the last row of replacement stitches to the cardigan.
- Weave in any ends of the original sweater
- Check the garment for other wear and tear.

#VisibleMend
In this instance, the mend is visible. That navy embroidery wool looks quite bright next to the original garment (no, it really isn’t a black sweater). It’s mended, whew. It’s not invisible, wah. Can’t perfection always be an option? No, Alanna, not always! A life lesson lurks somewhere in this knitwear repair.
Aug 22, 2016
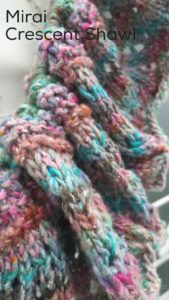
Carefully considering the appropriate cast on for the 7 Crescent Shawl by Lisa Barnes, I quickly put 232 stitches on a 24″ size 7 needle the night before our Montreal road trip. By the end of the weekend, the lace portion was complete.
“What long rows,” I thought.
Never mind, the rest of the Crescent Shawl was stockinette st short rows… perfect for our sailing vacation which began two days later. I plugged away, enjoying the mindless knitting while watching waves, wind and lightning. Eventually it occurred to me that this shawl was asymmetrical.
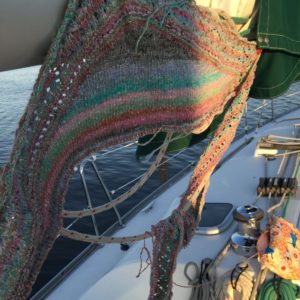
The #7 Crescent Shawl with a long tail
I’d cast on 332 stitches, not 232! All scrunched up on the short needle, I couldn’t really tell.
Do I finish, I wondered? What if I worked 12 st past the join on the long side, so I would finish up at the same time on both ends? What the heck, it may be just fine. It’s still mindless knitting.
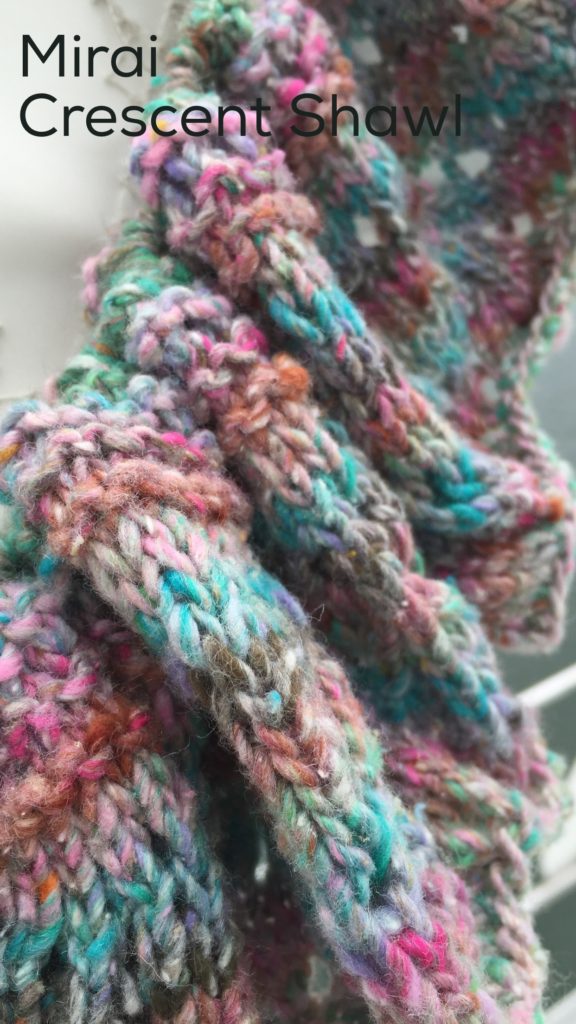
Well, it’s really not. Once finished, no way did I want it to do on my present shelf. Really, the lace pattern is a bit disjointed. Actually, there’s so much going on in the yarn that I really couldn’t see the pattern anyway. But the Noro Mirai yarn is quite soft. I like the yarn, I like the idea of a crescent shawl, but something with lacey, easy to knit holes, something soft and buttery, with light layers would be a better mix for this cotton/silk/viscose yarn.
Rather than rip out and knit again, I think I’m going to write my own crescent shawl pattern. Stay tuned!
Aug 18, 2016
While I may forget a comb or pajamas, it is rare that I hit the road without knitting or reading. On a recent overnight sail, I found myself in one of Gloucester’s book stores, looking for a quick read.
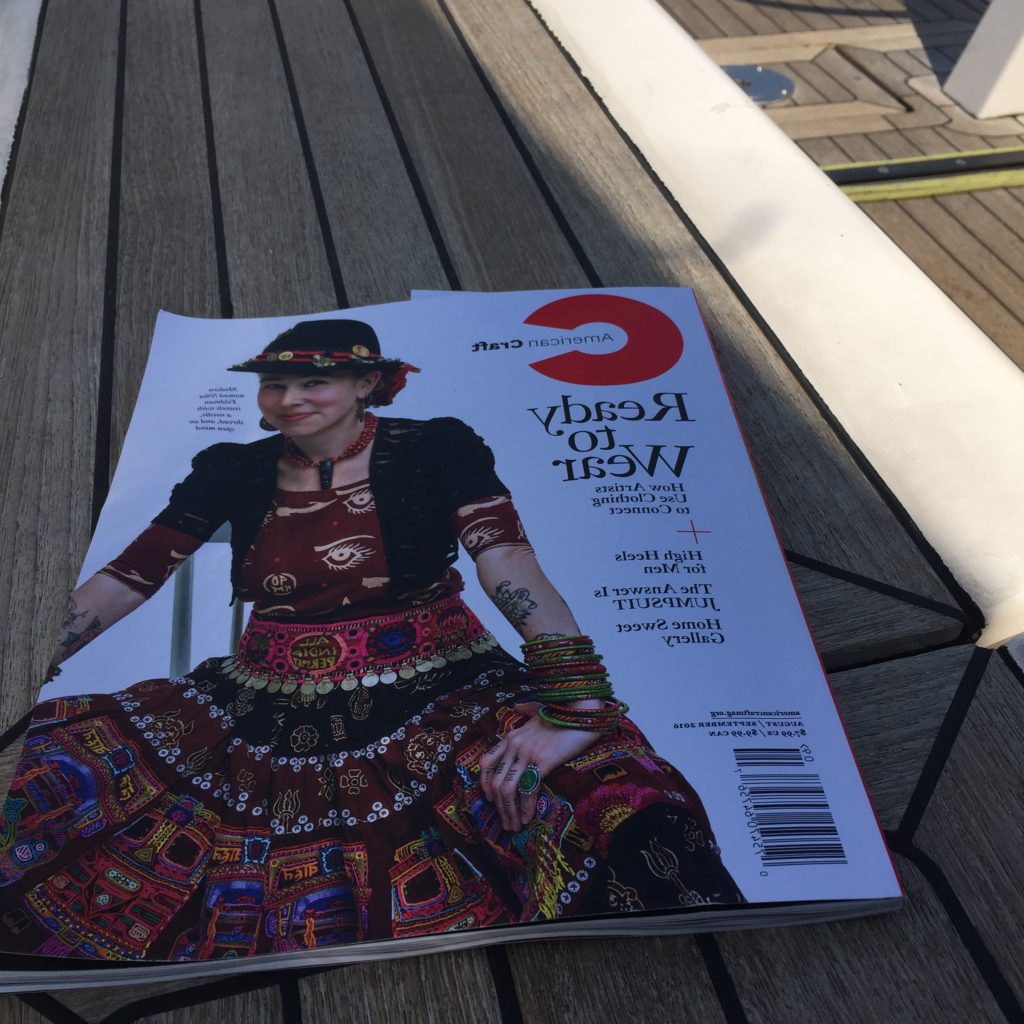
All magazines on deck!
Unwilling to commit myself to an entire book, I picked up the most recent American Craft magazine. Nika Feldman, the subject of the August/September feature, is a woman after my own heart. This woman travels, relates, communicates with a needle, thread and scissors. I always travel with knitting needles and yarn, eschewing quilting as less portable. How could that change?
Mulling over ways to bring quilting into my travels, I realize that a sketchbook and pencil fell of my travel packing list. Ten years ago, these tools lived in my purse. The arrival of the iPhone pushed it out of my bag. It was too easy to snap a photo, and my purse was lighter, smaller. Sketching should re enter my daily habits and most definitely return to my travel packing list. Shouldn’t everyone draw?
At one time, drawing was a skill crucial to education. Travel journals consisted of words, sketches, watercolors. Of course, at this point, I always turn to Isabella Stuart Gardner’s travel journals. As she neared the end of her life, Isabella burned her letters, but chose to keep her travel journals. How do you remember your travels? Selfies? T shirts? Art? Magnets? Post cards or other ephemera? Matchbooks, coasters or cocktail napkins?
Would drawing change your relationship with the place? Clearly, traveling with a needle, scissors and thread completely frames Feldman’s work. She has the benefit of time on her side… no quick sailing trips to Gloucester… but your travel experience would definitely change if you drew or stitched.
So much for deckside knitting comtemplation.
Aug 10, 2016
A long car trip offered ample time to work through the lace chart on the #7 Crescent Shawl. It wasn’t a great project for chitter chattering with family, but I managed survive without needles in my hands.
This scarf lets you practice a Central Double Decrease (they call it S2KP, which still means: slip two stitches together knit wise, k1, pass the 2 st over).
Wish I’d cast on with a longer needle….
The lace pattern is not difficult to follow, but frankly the yarn takes center stage. I think I’ll need only one skein of yarn so…
What about working a feather and fan pattern instead of the lace? You get holes, you get to focus on yarn and the scalloped edge reflects the crescent shape?
I just may try that!
Stay tuned

